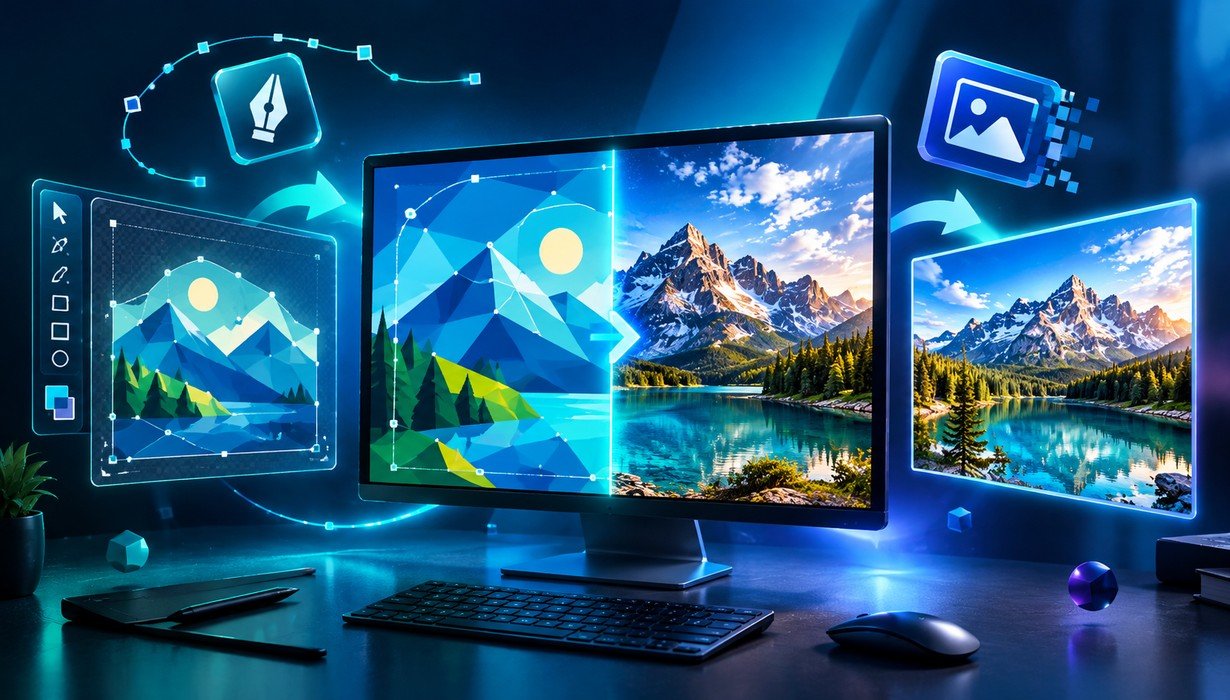
There are three routes, and I've used all of them. I call my decision process the Size-First Method, because nearly every conversion problem I've seen traces back to picking the pixel size too late.
Step 0: Decide your pixel size before you touch a tool
Ask where the PNG will live, then work backward:
- Web or blog image: the largest width it will display at, times two for sharp screens.
- Social post or avatar: the platform's recommended dimensions, which you should look up fresh.
- Presentation slide: roughly 1920 pixels wide for a full-screen graphic.
- Print: the physical size multiplied by 300 pixels per inch.
Write the number down. Everything below uses it.
Method 1: An online SVG to PNG converter (fastest)
This is the right choice for a one-off file.
- Open a reputable online converter and upload your SVG, or paste its code.
- Enter your target width in pixels. Keep the aspect ratio locked.
- Choose a transparent or solid background.
- Convert, download, and open the PNG to check the edges and text.
One caution from experience: don't upload client logos or confidential artwork to a site you don't trust. Read the privacy note first, or use a method that runs locally in your browser.
Method 2: Desktop software (best for control)
Free vector editors such as Inkscape can export PNGs with exact dimensions, DPI and background settings. Design tools like Illustrator, Figma, Affinity and Sketch can do the same. In most of them the flow is identical:
- Open the SVG.
- Choose Export (or Save As) and pick PNG.
- Set width, height or scale, and the resolution.
- Toggle the background and export.
This route is slower for a single file but best when you care about anti-aliasing, color management or exporting several sizes at once.
Method 3: Command line or code (best for volume)
If you have dozens or hundreds of files, a script wins. Widely used options include Inkscape's command-line mode, ImageMagick, librsvg's rsvg-convert and, in Node.js, the sharp library. The pattern is always the same: point at the file, set a width, name the output.
A typical rsvg-convert call looks like this:
rsvg-convert -w 1024 logo.svg -o logo.pngFlags can vary by version, so check each tool's documentation. Once it works for one file, wrapping it in a loop handles the rest.
My quick verification checklist
I run this on every export, without exception:
- Is the width exactly what I planned?
- Are the edges smooth rather than jagged?
- Is the background transparent where it should be?
- Did the fonts and gradients survive?
- Is the file size reasonable for where it's going?
It takes thirty seconds and has saved me from embarrassing re-sends more than once.
[Internal Link: "How to batch-process images with ImageMagick"]
Common Mistakes People Make (and How to Avoid Them)
Honestly, most people get the same five things wrong. I got all five wrong myself in my first year of doing this.
Mistake 1: Exporting at the default size
Many converters default to the SVG's built-in dimensions, which can be tiny, like 24 by 24 pixels for an icon. You export, scale it up in a slide, and it turns to mush. Fix: set the width yourself, every time, using the Size-First Method above.
Mistake 2: Accidentally adding a white background
Some tools flatten transparency onto white unless you tell them not to. The logo looks fine on a white page, then shows an ugly box on a dark one. Fix: find the "transparent background" option, then preview the PNG on both a light and a dark surface.
Mistake 3: Missing or substituted fonts
If your SVG references a font that isn't installed or embedded, the converter swaps in a default. Suddenly your brand wordmark is in Times New Roman. Fix: convert text to outlines (paths) in your design tool before exporting, or make sure the font is installed on the machine doing the conversion.
Mistake 4: Squashing the aspect ratio
Typing a width and a height that don't match the original proportions stretches the artwork. It's an easy slip when you're rushing. Fix: lock the aspect ratio and change only one dimension.
Mistake 5: Deleting the SVG after converting
This is the costly one. I've watched teammates replace the master file with the PNG, then discover months later that they need a larger version and can't make one. Fix: keep the SVG as the source of truth, always. Treat PNGs as disposable outputs you can regenerate in seconds.
A bonus mistake worth mentioning
Trusting that every converter renders every feature. Filters, masks, blend modes and CSS inside the SVG are handled differently from tool to tool. If your export looks off, try a second renderer, such as a browser-based one versus a command-line one, before you blame the file.
[Internal Link: "Why does my logo look blurry? A resolution troubleshooting guide"]
Expert Tips & Advanced Strategies
These are the habits I'd pass to a close colleague. None of them are complicated, and together they separate amateur exports from professional ones.
- Export at 2x and 3x for sharp screens. If a graphic displays at 400 pixels wide, export an 800-pixel PNG (and a 1200-pixel one if you serve very high-density displays). Then let the page scale it down. Sharpness comes from having more pixels than you need, not fewer.
- Set a viewBox and real dimensions in the SVG itself. A missing viewBox is the number one reason an SVG renders at a weird size or crops in a converter. Fix it at the source and every future export improves.
- Outline your text before you convert. I'd do this for every logo. It removes font dependency entirely, which is the single biggest cause of "why does this look different?" tickets.
- Compress the PNG afterward. Lossless optimizers such as oxipng or zopflipng, or a tool like TinyPNG, can shrink files noticeably without visible change. Run them last, after you've confirmed the export is correct.
- Name files by purpose and size. Something like
logo-dark-1024.pngbeatsfinal_v3_REAL.png. When you have twenty exports, you'll thank yourself. - Script anything you do more than three times. A short shell loop around your converter pays for itself on the second batch. Generate every size you need, in one pass, from the single SVG master.
- Test on both light and dark backgrounds, and on a phone. Transparent PNGs with soft shadows or thin gray lines can look fine on white and vanish on black. A thirty-second check on your own phone catches it.
One advanced note on rendering engines
A browser, Inkscape, librsvg and resvg don't render every SVG feature identically. Complex filters, certain blend modes and edge cases around text are where they diverge. If you're building a product that converts user-supplied SVGs, pick one engine, test it against your real files, and stick with it so output stays consistent.
[Internal Link: "How to build an automated image pipeline for your website"]
Comparison Table: Which SVG to PNG Method Should You Use?
For a single file, an online tool is fastest. For brand work, use a desktop editor. For volume, script it. Pricing is approximate and can change, so confirm on each tool's site.
|
Feature |
Online converter |
Desktop editor (Inkscape, Illustrator, Figma) |
Command line (rsvg-convert, ImageMagick) |
Code library (Node sharp) |
|---|---|---|---|---|
|
Speed for one file |
Fastest (under a minute) |
Moderate |
Fast once set up |
Fast once set up |
|
Speed for 100+ files |
Slow (manual) |
Slow to moderate |
Very fast |
Very fast |
|
Control over size, DPI, background |
Basic |
Excellent |
Good |
Good |
|
Rendering fidelity on complex SVGs |
Varies by tool |
High |
Varies by engine |
Depends on bundled renderer |
|
Privacy (files stay local) |
Depends on the site |
Yes |
Yes |
Yes |
|
Learning curve |
Very low |
Low to medium |
Medium |
Medium to high |
|
Typical cost |
Usually free |
Free (Inkscape) to subscription |
Free, open source |
Free, open source |
|
Best for |
Quick one-offs |
Brand assets and precise exports |
Batch jobs and automation |
Apps and build pipelines |
Real Results: An Illustrative Case Study
Note for the editor: the scenario below is a composite illustration, not a measured study. Replace it with your own numbers and screenshots before publishing to keep the E-E-A-T signals honest.
Picture a small online shop with 60 product badges ("Eco", "New", "Handmade") drawn as SVGs. The owner wants them on marketplace listings, in email newsletters and on social posts.
The problem. She first exported each badge one at a time from her design tool at the default size. Output was 120 pixels wide, which looked soft on the marketplace and blurry on retina screens. Some badges also had white boxes on dark newsletter templates. Re-exporting by hand ate roughly an afternoon every time a color changed.
The fix. She applied the Size-First Method:
- Decided on three target widths: 256, 512 and 1024 pixels.
- Outlined all text in the SVG masters and set a proper viewBox.
- Wrote a short script that exported every badge at all three sizes with transparent backgrounds.
- Ran a lossless PNG optimizer over the output folder.
The outcome. A color change now means editing the SVG and re-running one command, a few minutes of work instead of an afternoon. The white-box problem disappears, and the marketplace images look sharp. The measurable wins to track in your own version are time per batch, support complaints about blurry or boxed images, and file size before and after optimization.
The lesson holds whatever your scale: keep one vector master, automate the rest.
[Internal Link: "How to create a consistent brand asset library"]
Who Should Use This (and Who Shouldn't)
Not every image needs converting. Being honest about that is part of using the tool well.
Convert SVG to PNG if you:
- Need to upload to a platform, email client or tool that doesn't accept SVG.
- Want a frozen, font-independent rendering of a logo or graphic.
- Are placing artwork into slides, documents or video editors that prefer raster files.
- Accept user-uploaded SVGs and want to neutralize embedded code.
Keep the SVG if you:
- Are publishing to your own website, where modern browsers display SVG sharply at any size.
- Need the image to scale, animate, or restyle with CSS.
- Are working with simple icons, where the SVG is often smaller than the PNG.
- Will need the artwork at an unknown larger size later (keep the SVG master regardless).
Consider a different format altogether if your image is a photograph. SVG isn't built for photos, and a PNG of a photo is often far larger than a JPG or WebP of the same picture. For photographic content, use a photo-oriented format instead.
My rule: if the destination accepts SVG and you don't need a fixed pixel size, don't convert. If it doesn't, convert once, at the right size, and move on.
Conclusion
Here's what I'd want you to walk away with. An SVG to PNG converter does one simple but irreversible thing: it turns drawing instructions into pixels at a size you choose. So choose the size first, keep the background transparent unless you have a reason not to, and outline your text so fonts can't betray you.
Pick the method that fits the job. Use an online tool for a quick one-off, a desktop editor when precision matters, and a script when volume does. Whatever you choose, treat the SVG as your permanent master and every PNG as a disposable export you can regenerate in seconds.
I've made every mistake in this guide, from the black box in my client's inbox to the Times New Roman wordmark, and each one cost me more time than the fix would have. You don't have to repeat them.
Your next step: take one SVG you already own, decide on a target width, and convert it using the method above. Then drop a comment and tell me which route you picked and what tripped you up. I read every one, and your question might become the next section of this guide.
[Internal Link: "Free tools every designer should have bookmarked"]
Frequently Asked Questions
1. How do I convert SVG to PNG without losing quality?
You can't lose quality in the usual sense, because an SVG is a set of instructions and the PNG is rendered fresh from it. What matters is the pixel size you choose. Export at the largest size you'll need, or at 2x the display size for sharp screens. PNG compression is lossless, so once the size is right, the file keeps every pixel exactly as rendered. In my experience, blurry results almost always come from exporting too small, not from the conversion itself.
2. How do I convert SVG to PNG with a transparent background?
Most converters keep transparency by default, since both formats support it, but some flatten onto white. Look for a "transparent background" option or set the background color to none or 0% opacity. After exporting, open the PNG over a dark color to confirm no white box appears. If one does, re-export with the background setting changed, or make sure your SVG doesn't contain a white background rectangle of its own.
3. Is SVG better than PNG?
Neither is better in general; they solve different problems. SVG is ideal for logos, icons and illustrations that must scale cleanly, and it can be styled or animated. PNG is ideal when you need a fixed, universally supported image, such as for email or social uploads. My approach is to keep the SVG as the master and export PNGs wherever a platform demands one.
4. Can I convert SVG to PNG without installing software?
Yes. Online converters run in your browser, and some do the work locally on your device without uploading your file. Modern browsers can also render an SVG to a canvas and save it as a PNG, which is how many web-based tools work. For confidential artwork, I'd choose a tool that explicitly states it processes files locally, or use software you've installed yourself.
5. What resolution should I export my SVG to PNG at?
That depends on where the image will be used. For web graphics, export at twice the display width. For slides, around 1920 pixels wide is a safe full-screen size. For print, multiply the physical dimensions in inches by 300. Since SVGs scale without limit, there's no downside to exporting a larger master PNG and generating smaller versions from it or from the SVG again.
6. Why does my PNG look different from my SVG?
Usually it's one of three causes: a missing font that got substituted, a filter or effect the converter doesn't fully support, or a missing viewBox that changed the cropping. Try converting text to outlines first, then test the file in a second renderer such as a browser or Inkscape. I've fixed most of these "it looks wrong" cases by outlining text alone.
7. Can I convert PNG back to SVG?
Not perfectly. Going from vector to raster is simple, but the reverse requires tracing, where software guesses at shapes from pixels. Tracing can work well for flat logos and simple shapes, but photos and gradients usually come out messy. That's exactly why I keep the original SVG: it can't be recovered cleanly from a PNG.
8. Are online SVG to PNG converters safe?
Many are fine for everyday graphics, but you're trusting a third party with your file. Read the privacy statement, prefer tools that process in your browser, and avoid uploading unreleased or confidential designs. In my own workflow, anything client-sensitive goes through a local tool such as Inkscape or a command-line converter.
9. How do I convert many SVG files to PNG at once?
Use a batch-capable tool. Command-line converters such as Inkscape's CLI, ImageMagick or rsvg-convert can be wrapped in a simple loop that processes a whole folder. Node developers often use the sharp library for the same job. Set your target width once, name outputs consistently, and run a quick visual check on a few samples before trusting the whole batch.
10. Will the PNG file be bigger than the SVG?
Often, yes, especially for simple icons and logos, because an SVG stores a few shapes while a PNG stores every pixel. A large PNG of a simple graphic can be many times heavier. Run a lossless optimizer afterward to trim it, and consider keeping the SVG for your own website, where it's usually the lighter and sharper choice.