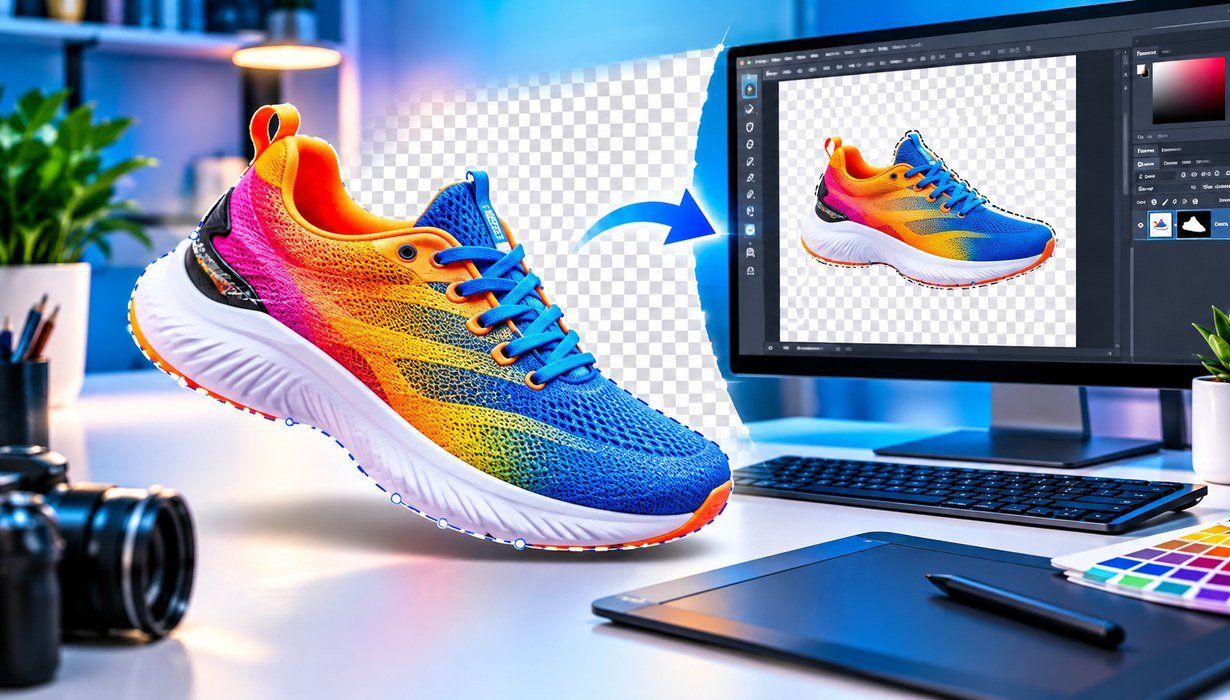
A few years ago I spent most of a Friday night fighting a single logo. A client needed it on a dark slide deck, and every version I exported came with a stubborn white box around it. It looked like a sticker slapped on a black wall. I tried three tools, got three different kinds of ugly, and only later realized the problem wasn't the tool. It was the file format.
If you've ever tried to make an image background transparent and ended up with a white rectangle, a fuzzy halo, or a jagged cutout that screams "amateur," you're in good company. The good news: it's a solvable, repeatable problem. Once you understand what's actually happening under the hood, you can do it in under a minute with free tools.
This guide walks you through five methods, the mistakes I see constantly, and the tricks that separate a clean cutout from a sloppy one. Let's get into it.
What Does a Transparent Background Really Mean?
When you make an image background transparent, you're not painting the background "clear." You're telling the file that certain pixels have no color value at all, so whatever sits behind the image (a web page, a slide, a product mockup) shows through.
Honestly, most people think of this as erasing. It's closer to cutting a stencil. The subject stays, and everything around it becomes a window.
Alpha channels in plain English
Every pixel in a normal image has red, green, and blue values. A transparent image adds a fourth value called the alpha channel. Alpha runs from fully opaque to fully transparent, and everything in between is a partial transparency. That in-between range is what makes soft edges, shadows, and glass effects possible.
This is why a good cutout of hair or fur looks natural. The edge pixels are semi-transparent, so they blend smoothly into any new background.
Which file formats support transparency
This is the single most important thing in this article, so read it twice.
- PNG: supports full alpha transparency. The default choice for logos, icons, and cutouts.
- WebP: supports transparency with smaller file sizes. Great for websites.
- SVG: vector format, naturally transparent unless you add a background shape.
- GIF: supports only one-bit transparency (a pixel is either on or off), so edges look rough.
- JPG/JPEG: does not support transparency at all. Save a cutout as JPG and your transparent area becomes solid white or black.
That Friday night disaster? I was exporting JPGs. Lesson learned the hard way.
Why a Transparent Background Matters Right Now
Visual content has become the default language of the web, and clean imagery separates credible brands from forgettable ones. I'm not going to invent a statistic to prove that. You've seen it yourself: the product photos that feel professional almost always sit on clean, consistent backgrounds.
Branding and logos
A logo with a white box around it breaks the moment it lands on a colored header, a dark-mode interface, a video overlay, or a T-shirt mockup. A transparent PNG adapts to any surface. If you manage a brand, a transparent logo is non-negotiable. [Internal Link: "how to create a brand style guide"]
E-commerce and design work
Marketplaces often require pure white backgrounds for main product images, and designers need cutouts to build lifestyle composites, banners, and social posts. Whenever a platform has strict image rules, check its current seller guidelines directly, because requirements change. [Internal Link: "product photography tips for online stores"]
There's also a practical angle: cutouts are reusable. One clean transparent PNG of a product can end up on a hundred different layouts without you ever touching the original photo again.
How to Make an Image Background Transparent, Step by Step
Before picking a method, run through this quick framework I use. I call it the S.C.E. check:
- Subject: Is it simple (a logo, a mug on a plain table) or complex (hair, glass, fur)?
- Completeness: Do you need a quick result or a pixel-perfect one?
- Export: Where is it going? Web, print, a slide, a marketplace?
Simple subject plus quick result means an automated tool. Complex subject plus pixel-perfect means manual masking. Most jobs land somewhere in between.
Method 1: A one-click online background remover
This is the fastest route and what I reach for 80% of the time. Tools like remove.bg, Adobe Express, and Photoroom use AI to detect the subject and strip the rest.
- Open the tool in your browser and upload your image (JPG or PNG).
- Wait a few seconds while the AI detects the subject.
- Review the preview. Many tools let you refine edges by brushing areas back in or erasing leftovers.
- Download the result as a PNG.
A word of caution: free tiers often cap the resolution of the download, and full-resolution exports may cost credits or require a subscription. Always check before you upload a hundred images. Also, think twice about uploading confidential client files to any web service. Read the privacy policy first.
Best for: quick jobs, product photos, social posts.
Method 2: Canva
If you already live in Canva, you don't need another tool. Canva's background remover lives inside its image editor.
- Upload or select your image on your design canvas.
- Click the image, then choose Edit image (or Edit photo) and select Background Remover.
- Let it process, then use the Erase and Restore brushes to fix any mistakes.
- When you download, choose PNG and tick the Transparent background option.
That last step trips people up. If you forget the transparent option, you'll get a flat background no matter how clean your cutout is. Note that the background remover has historically been a paid feature, so confirm what your plan includes.
Best for: social media designers, small business owners, anyone already in Canva.
Method 3: Photoshop
Photoshop is still the gold standard when quality matters. You have two routes: the quick one and the proper one.
The quick route:
- Open your image and select the layer in the Layers panel.
- In the Properties panel or the contextual taskbar, click Remove Background.
- Photoshop creates a layer mask automatically, hiding the background without destroying it.
- Export via File > Export > Export As and choose PNG with the Transparency box checked.
The proper route (for tricky subjects):
- Use Select > Subject to get a starting selection.
- Open Select and Mask to refine edges. The Refine Edge Brush is brilliant for hair.
- Output to a Layer Mask, not a deletion. Masks are reversible; erasing is permanent.
- Check your result against a dark and a light background to expose halos.
In my experience, the layer-mask habit is the single biggest upgrade a beginner can make. When a client says "actually, can we bring back that shadow?" you'll be glad you didn't delete anything.
Best for: professionals, complex subjects, print work.
Method 4: Free editors (GIMP and Photopea)
You don't need a Creative Cloud subscription to get professional results.
GIMP (free desktop app):
- Open your image, then go to Layer > Transparency > Add Alpha Channel. Skip this and the eraser will paint in your background color instead of making pixels clear.
- Use the Fuzzy Select tool to click the background, or Foreground Select for more complex subjects.
- Press Delete to clear the selected area.
- Export via File > Export As, choosing PNG.
Photopea (free in your browser, with ads):
Photopea mimics Photoshop's interface closely, so the layer-mask workflow carries over. Use the Magic Wand or the Quick Selection tool, create a mask, and export as PNG.
Best for: budget-conscious creators, people who want control without a subscription.
Method 5: Phone and built-in operating system tools
Sometimes you don't need to install anything.
- iPhone (iOS 16 and later): open the photo, touch and hold the subject until it glows, then choose Copy or Share. You can paste the isolated subject into Notes, Messages, or a design app. Newer versions also offer a way to save the cutout as an image.
- Mac: in Preview, use the Remove Background tool in the markup toolbar on recent macOS versions, or the older Instant Alpha tool for simple single-color backgrounds. You can also Control-click an image in Finder and look for a Remove Background quick action.
- Windows 11: the Paint app includes a Remove background button on its toolbar in current versions. Select it, then save as PNG.
- PowerPoint and Word: select the picture, open Picture Format, and choose Remove Background, then mark areas to keep or remove. For flat single-color backgrounds, Color > Set Transparent Color works, though it only handles one color.
Menu names shift between versions, so if you don't see one of these options, update your software or search your app's help.
Best for: quick personal use, presentations, no-install situations.
Common Mistakes People Make (and How to Avoid Them)
I've made nearly all of these myself. Here's what to watch for.
Saving as JPG
By now you know the story. JPG cannot store transparency. If your cutout suddenly has a white or black box, check your export format first, before you blame your tool.
Ugly halos and jagged edges
A halo is a thin light or dark fringe left around your subject, usually remnants of the old background. You'll only notice it when you place the cutout on a different color.
How to avoid it:
- Always preview your cutout on a contrasting background (dark if the original was light).
- Use a feather of 0.5 to 1 pixel on selections so edges soften slightly.
- In Photoshop, try Layer > Matting > Defringe or Remove White Matte.
Deleting instead of masking
Erasing pixels is permanent. Masks hide pixels instead, so you can fix errors later. If you're doing anything beyond a throwaway job, mask.
Starting with a low-resolution file
AI removers can only work with the pixels they're given. A tiny, blurry source image produces a tiny, blurry cutout with ragged edges. Start with the highest-resolution version you have.
Forgetting the checkerboard lies sometimes
That gray-and-white checkerboard in an editor means transparency, but some websites show a fake checkerboard baked into a flat image. If you download an image from a search result and the checkerboard is part of the picture, it isn't truly transparent. Look for a genuine PNG from the original source.
[Internal Link: "best free image editing software"]
Expert Tips & Advanced Strategies
These are the habits that make cutouts look like they came from a studio.
- Shoot for the cutout. The easiest background to remove is one that contrasts strongly with the subject. A product on a plain, evenly lit surface cuts out almost perfectly with any tool.
- Avoid color spill. A green wall reflecting onto a white product leaves a green tint on the edges. Pull the subject away from the background when you shoot.
- Treat hair and fur separately. Automated tools do well on solid edges but struggle with fine strands. Use a refine-edge brush or channel-based masking for those areas, then combine with the automatic result.
- Keep a master file. Save your layered original (PSD, XCF, or a project file) alongside the exported PNG. You will need to re-export at a different size sooner than you think.
- Match the shadow. A subject floating on a new background looks fake. Add a soft, low-opacity shadow beneath it, or keep a separate shadow layer from the original.
- Compress after you cut. Transparent PNGs can be heavy. Run them through a compressor, or export to WebP for web use, so your pages stay fast. [Internal Link: "how to optimize images for page speed"]
- Batch when you can. If you have dozens of product photos shot the same way, use a batch feature or an action/script rather than redoing each by hand. Consistency matters as much as quality.
Comparison Table
|
Feature |
Online AI remover (remove.bg, Photoroom) |
Canva |
Photoshop |
GIMP / Photopea |
Built-in OS tools |
|---|---|---|---|---|---|
|
Speed |
Seconds |
Seconds |
Minutes (quick route: seconds) |
Minutes |
Seconds |
|
Edge quality on hair/fur |
Good, varies |
Good |
Excellent with refinement |
Good with manual work |
Fair |
|
Learning curve |
Very low |
Low |
Steep |
Moderate |
Very low |
|
Non-destructive editing |
Limited |
Limited |
Yes (masks) |
Yes (masks) |
No |
|
Batch processing |
Often available |
Limited |
Yes |
Possible with scripts |
No |
|
Typical cost |
Free tier with limits, paid for full resolution |
Often a paid feature |
Subscription |
Free (Photopea has ads) |
Free |
|
Best for |
Quick product shots |
Social graphics |
Professional, print work |
Budget control |
Casual use |
Pricing and limits change frequently, so confirm on each tool's website before committing.
Real Results: A Practical Case Study
(Illustrative scenario. Replace with your own measured results before publishing.)
Imagine a small online shop with roughly 60 product photos taken on kitchen counters, tables, and windowsills. The listings looked inconsistent, and the owner suspected it hurt trust.
The workflow: re-shoot the worst offenders on a plain white sheet near a window, run everything through a one-click remover, check every cutout on a dark background to catch halos, hand-fix the 10 or so tricky ones in a free editor, and export all images as compressed PNG or WebP on a uniform white canvas.
The time investment was about a weekend. The outcome worth tracking is whether the shop's listing click-through rate, time on page, and return rate improve after the change. If you run something similar, record your numbers before and after, ideally over at least four to six weeks, so you're comparing like with like. That kind of first-party data is what makes a case study credible.
The real lesson isn't the metric. It's that consistency compounds. Clean, uniform images make everything around them look more professional.
Who Should Use This (and Who Shouldn't)
Use a transparent background if you:
- Run a brand and need logos that work on any surface
- Sell products and need consistent catalog imagery
- Create presentations, thumbnails, or social graphics with layered elements
- Build websites with icons, overlays, or hero cutouts
Think twice if you:
- Need a photo to look natural in its original setting. Sometimes the background is the story.
- Are working with sensitive images and don't want to upload them to a third-party site. Use offline tools instead.
- Plan to print on something that treats "transparent" as white anyway. Ask your printer how they handle it.
- Have a very low-quality source image. Fix the photo first, or re-shoot.
And a note on rights: removing a background doesn't change who owns the image. Only edit photos you have permission to use.
Conclusion
Here's what I'd want you to walk away with. To make an image background transparent, you need three things: a clean source image, a tool that matches the complexity of your subject, and a format that actually supports transparency (PNG or WebP, never JPG).
For quick jobs, an AI remover or your built-in OS tool gets you there in seconds. For anything client-facing or print-bound, take the extra few minutes to mask non-destructively and check your edges on contrasting backgrounds. Do that, and you'll avoid 90% of the mistakes I've lived through.
Try it today: grab one image you've been putting off, run it through the method that fits, and test the result on a dark background. Then tell me in the comments which method worked best for you, and what subject gave you the most trouble. I read every one.
3. FAQ Section
How do I make an image background transparent for free?
Use a free online remover, Photopea in your browser, or GIMP on your desktop. Upload your image, remove or mask the background, then export as PNG. Free online tools often limit the download resolution, so for full quality, GIMP and Photopea are my go-to choices. Built-in options like Windows 11 Paint, Mac Preview, and PowerPoint also work at no cost for simple images. In my experience, a well-lit photo with a plain background gives clean results in any of them.
Can I make a JPG background transparent?
Not directly, because the JPG format cannot store transparency. You can still start from a JPG: remove the background in an editor or online tool, then export the result as PNG or WebP. If you save it back as a JPG, the transparent area will fill with white or black. Always check your export format before you finish. I've watched this mistake waste hours for people who blamed the wrong tool.
What is the best file format for a transparent background?
PNG is the safest all-round choice, since it supports full transparency and works everywhere. WebP offers transparency with smaller file sizes, which helps website speed. SVG suits logos and icons because it scales without losing quality. GIF only supports on-or-off transparency, so edges look rough. Avoid JPG for anything that needs a transparent background.
Why does my transparent PNG still show a white background?
There are a few common causes. You may have exported as JPG, forgotten to tick the transparent option in your export dialog (Canva requires this), or the image you downloaded has a fake checkerboard baked in. It can also be your viewer: some apps show transparency as white. Place the file on a colored background in a design tool to test whether it's truly transparent.
How do I make a logo background transparent without Photoshop?
For a flat logo with a solid background, a one-click AI remover or the Set Transparent Color tool in PowerPoint often does the job. For finer control, use GIMP's Fuzzy Select (after adding an alpha channel) or Photopea's Magic Wand. Then export as PNG. Honestly, if you can get the original vector file (SVG or AI) from whoever designed it, that's always the better route, since it's transparent by default.
How do I make a background transparent on my phone?
On an iPhone running iOS 16 or later, touch and hold the subject in the Photos app until it highlights, then copy or share it to isolate it from the background. On Android, many gallery and photo apps include a remove-background or subject-cutout feature, and several editing apps do it with one tap. Features vary by device and software version, so check your phone's photo editor first.
Why do my cutouts have a white or dark outline?
That outline is a halo, leftover pixels blended from the original background along the edge. Fix it by feathering the selection by about a pixel, shrinking the selection slightly before deleting, or using defringe tools like Photoshop's Defringe and Remove White Matte. I always test cutouts against both a dark and a light backdrop. If the halo shows, it needs cleanup before you use it.
Is it legal to remove the background from any image?
Editing an image doesn't change its copyright. If you don't own the photo or have a license that allows modification, removing the background and reusing it may still infringe. Your own photos, images you've licensed with editing rights, and public-domain or appropriately licensed works are generally fine. I'm not a lawyer, so when you're using images commercially, check the license terms or consult a professional.
How do I remove a background from hair or fur cleanly?
Start with an automatic selection, then refine edges using a dedicated tool such as Photoshop's Select and Mask with the Refine Edge Brush, or a manual mask with a soft brush in GIMP or Photopea. Shoot against a contrasting, evenly lit background when you can. In my experience, combining an AI cutout with a few minutes of manual edge work beats either approach alone.